
9 Essential and Excellent Tips for Recording Vocals at Home
With the right tools and approaches, creating great-sounding music from home is possible – no costly equipment or professional studios are required! However, although recording and producing vocals at home can be a rewarding experience, it can also be daunting if you need the necessary knowledge or resources.
What are the 9 best tips for recording vocals at home?
To achieve successful home recordings, you need the proper equipment, a peaceful and managed atmosphere, and knowledge of recording and production. In this article, we will provide helpful advice on how to record vocals at home—from deciding on the right microphone type to where it should be placed, from compression to equalization tactics, all the way to post-processing strategies.
Regardless of your level of experience, the following tips will assist you in creating studio-quality vocals from the comfort of your own home.
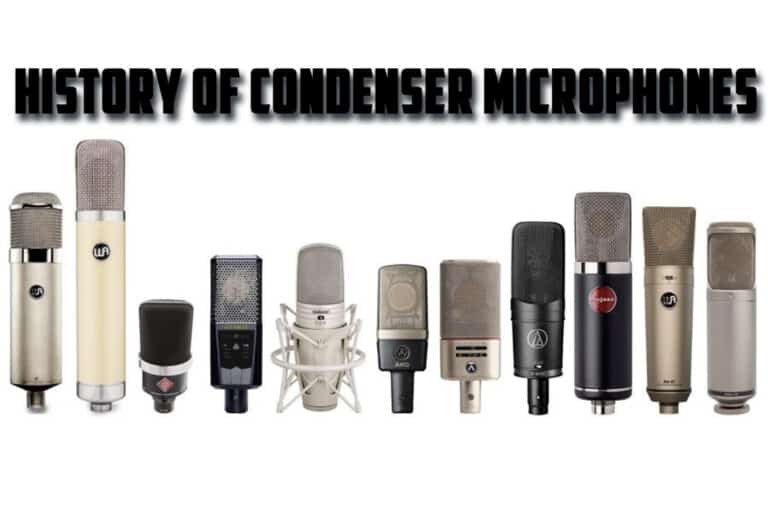
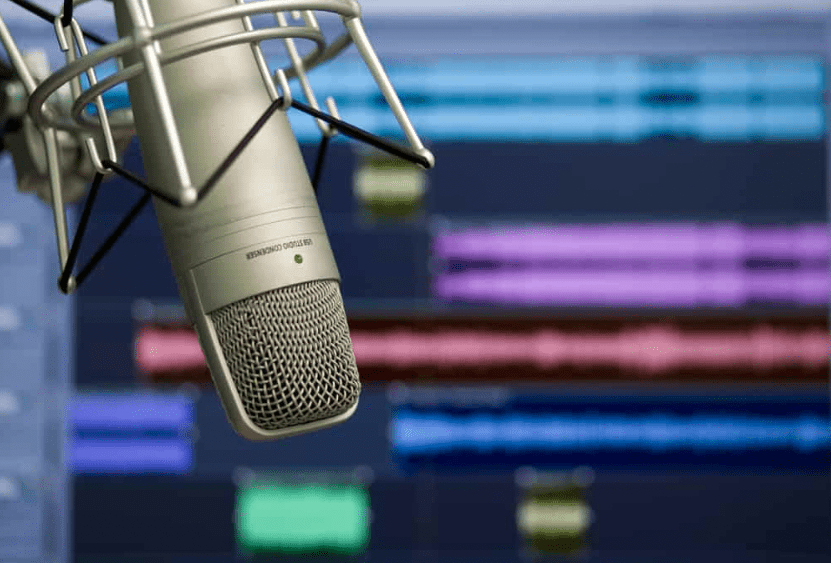
Invest in a good microphone

A top-notch microphone is crucial for producing clear, precise vocals when tracking from the comfort of your home. A superior mic will help decrease background noise, stop any feedback tendencies, and accurately pick up all those subtle nuances in your voice. To attain the most precise sound quality, choose a microphone with a cardioid polar pattern that directs its reception towards the front and blocks out any noise from behind or on either side.
Finding the perfect microphone for your needs can be daunting. The Shure SM7B, Audio-Technica AT2020, and Blue Yeti are all renowned options. Before making a purchase, carefully consider your budgetary constraints and exact specifications to determine which device will work best for you. Explore different models online and read customer reviews to refine your selection process!
Here’s a list of some of the best condenser mics available for any budget.
Use a pop filter

To help you make the most of your vocals and reduce distortion, a pop filter is an absolute must! This device attaches to your microphone and blocks plosives from creating that irritating popping sound. It does this by blocking the airflow, causing them while still allowing sound waves through. In addition, the thin mesh material used for many filters further diffuses air particles for even clearer recordings. A quality pop filter can elevate your audio experience, so remember to add one to your setup today!
When searching for the perfect pop filter, the options can seem overwhelming. Do you want a circular or rectangular one? Should it be attached to your microphone directly or mounted on a stand? Next, you must select one compatible with your mic that fits your recording environment’s confines. With so many different shapes and sizes available, finding the ideal fit should be easy!
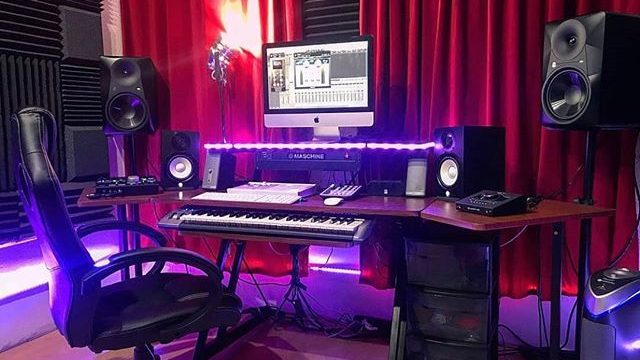
Create a quiet recording environment
Constructing a peaceful recording atmosphere is critical when laying down vocals at home. Uninvited noise can be an immense problem when capturing audio and is hard to remove from the last take. To reduce background disturbance as much as possible, it’s essential to identify a room with thick walls and minimal external sound. Recording in an isolated area of your house will also help attenuate ambient noise levels.
Do you need help locating a suitable space for recording your audio work? Don’t worry; you can harness the power of noise gates and software-based sound reduction solutions! With these tools, background noises in any environment will be reduced or eliminated. First, set the threshold level, then sit back and watch as your recordings are automatically improved with crisp clarity. Savvy producers have been using this technique for decades – why don’t you join them today?
Besides minimizing background sounds, it’s essential to remove any noise sources present in your recording location. This includes turning off all electronic devices like TVs and air conditioners which might cause disruptions.
Experiment with microphone placement
Experimenting with microphone placement is essential if you’re aiming to produce professional-quality vocals in a home recording studio. The mic’s position can drastically affect your sound, and trying out different placements will give you various tonal options.
To get the best sound out of your microphone, start by placing it slightly above or below your mouth and at an angle to your face. This will help dampen plosives (popping sounds) when you pronounce words with “p” and “b,” as well as better capture the nuances of your voice while reducing any background noise picked up by the mic.
Vary the distance of your microphone from your mouth to regulate bass and treble in your vocals, as well as the amount of room sound caught. To get creative with audio recordings, try experimenting with cardioid, omnidirectional, or figure-8 polar pattern mics for impressive results.
Experimenting with diverse microphone placements is essential to discovering the best fit for your unique voice. Moreover, different music styles may need different setups, so testing is critical! Each person’s vocal range will require a customized approach, and with experimentation comes success. So try out various mic placements and maximize every sound recording experience – you’ll be glad you did!
Experiencing microphone placement is vital for attaining studio-quality vocals when recording at home. With commitment and dedication, you’ll be able to find the perfect spot for your voice as well as music. Having the correct microphone location will significantly improve the sound quality you record!
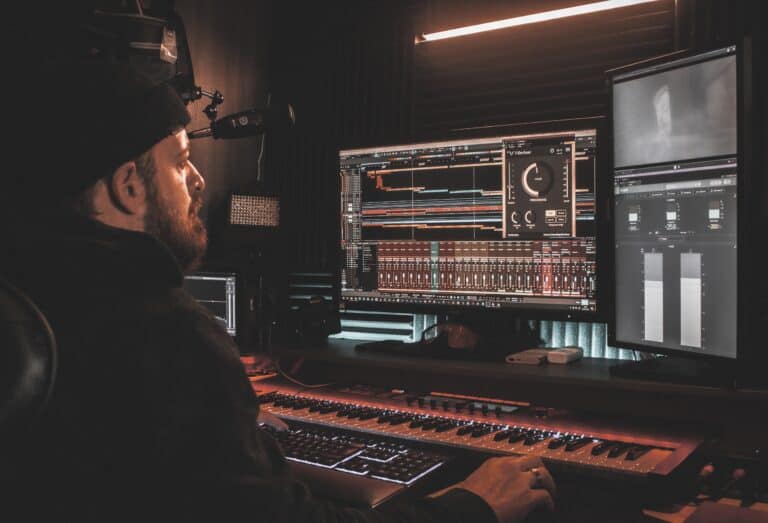
Use Compression and EQ
Compression
Have you ever wanted to produce professional-sounding vocals in your home studio? Utilizing compression is the key! Compression reduces the difference between loud and quiet parts of a recording, creating more consistent volume levels. This technique also helps when blending with other instruments during mixing. In addition, with compression, you can easily control the dynamic range of your vocal tracks for an outstanding sound experience.
Setting the threshold and ratio correctly is imperative when using compression. The threshold indicates at what point the compression begins to take effect, while the ratio reveals how much compressing will be applied. For example, a 2:1 ratio implies that for each two decibels higher than the determined limit, there should be just one dB of output beyond its input level. Increasing this number would ensure more significant levels of constriction, whereas reducing it produces less compacting results.
To get the sound you’re looking for, it’s crucial to pay attention to attack and release times when using compression. Attack time dictates how quickly your compressor will take action once the threshold has been surpassed. At the same time, Release Time determines how fast it’ll cease after the level dips under that same limit – these are elements worth experimenting with! You can finally achieve an ideal vocal tone by modulating both settings carefully.
Compression must be used carefully, as too much can make your vocal track sound artificial and uninspiring. Compress cautiously and use the smallest doses possible to ensure a pleasurable outcome. As you adjust the settings, take regular breaks to listen to how your recording is shaping up so that you are delighted with the results.
Compression is the key to capturing professional-quality vocals in a home recording studio. Experiment with different compressor settings and use only minimal compression, or you risk unnatural-sounding results. With patience and practice, your recordings will have that polished sound of being recorded in a pro studio – boosting confidence for any artist!
EQ
Equalization (or EQ) is an invaluable resource for sculpting sound when recording in a home studio. You can use it to increase or decrease particular frequencies on the vocal track and acquire your desired tone. For instance, growing high frequencies will give your vocals clarity and presence, while cutting low tones helps limit unnecessary muddiness.
Utilizing EQ must be done thoughtfully, as too much can create a discordant and abrasive vocal sound. A solid technique is to tweak the EQ settings and listen intently to its effects on the vocals. Using this tool wisely makes getting professional-grade audio in your home studio attainable!
Here’s an article about EQ for vocals, as well.
Add reverb to create depth
Utilizing Reverb in a home studio can be incredibly advantageous, allowing you to add depth and dimension to your vocals. A small amount of reverb creates the illusion of recording in a much larger space, enhancing their natural sound rather than making them seem overly dry. You can also manipulate the distance or sense of intimacy by adjusting the type and intensity of reverb used!
When introducing reverb to vocals, it’s vital to employ the effect with moderation and select the appropriate type of reverb. Utilizing a little bit of either room or hall types can offer your voice tracks just the right amount of natural space; conversely, using a more significant measure of plate or chamber varieties will give those same vocal recordings an impressive sense of grandeur.
Regarding reverb, striking the perfect balance between dry and wet is vital. A good starting point is typically a 30/70 ratio of wet-to-dry sound. Even so, adjust this mix depending on the desired ambiance and atmosphere you want for your tracks.
Use a de-esser to reduce sibilance
A de-esser is a powerful tool for recording studios that can help reduce the unwanted harshness and distortion caused by sibilance – those pesky “s” and “sh” sounds. Without it, your vocal recordings could sound piercing or distorted, diminishing their overall quality. Utilizing a de-esser in your home studio can ensure optimal audio clarity of vocals while avoiding any unpleasant surprises during playback!
De-essers are incredibly effective in identifying and decreasing high frequencies associated with sibilance, like the “s” or “sh” sound. Then, all you need to do is adjust their threshold control so they target those same specific frequencies causing issues. This makes de-essing not only fast but also very precise in its approach!
When utilizing a de-esser, it is essential to pay attention closely to the vocals and make slight tweaks in the threshold control until sibilance is diminished without obstructing the complete tonality of the vocals. You must also use this tool sparingly, as excessive utilization can cause vocal sounds to seem unnatural or muffled.
Use automation to create dynamic vocal performances
Automation is an excellent and influential technique that can create incredibly vibrant vocal performances while recording in a home studio. With automation, you can make delicate modifications throughout your track instead of keeping static levels, effects, and parameters, ultimately leading to more captivating recordings.
Utilizing automation when recording vocals is a surefire way to enhance your performance and make it riveting for listeners. You can vary up volume, panning, and effects over time with automation – like increasing the volume of specific phrases or adding delay on certain words as emphatic accents. In addition, automation offers an engaging array of possibilities that will take your vocal tracks from good to great!
It’s essential to remember not to overuse automation but rather use it judiciously and with a purpose. For example, when you listen to the track closely, look for moments where using automation will have maximum impact on the vocals’ dynamics. This way, you can bring out your music in an effective manner.
Listen to your vocals in different environments
When recording vocals in a home studio, it’s essential to listen to them in various settings. You may find that the quality of your singing varies from room to room or even device to device; this could mean they sound entirely different when playing on headphones than through car speakers! Listening to them across multiple environments can give you an idea of how the recordings will translate outside of your own space and help determine if further adjustments need to be made before completion.
If you want to ensure that your vocals sound perfect for all of your listeners, it’s important to listen in different environments. Doing so allows you to discover problems or contradictions that may not be detectable when only listening within a single space with poor acoustics. This can help give your vocal recordings the clarity and consistency they need!
Listening to your vocals in various settings can be significantly aided by uncovering frequency balance issues, clarity problems, and other audio challenges. Whether it’s testing out the mix on studio monitors, car speakers, or headphones; or playing it back in a noisy area or quiet room – there’s no better way to assess the quality of your vocal track than hearing how it responds in different scenarios.
Following these tips can be your first step towards achieving professional-quality audio recordings at home. Nonetheless, it is crucial to remember that practice makes perfect – the more you record and produce vocals, the more your knowledge of what works best for you will grow. Additionally, exploring different effects and plugins opens a world of creative possibilities to add unique touches to your vocal tracks and make them stand out among competitors.
When recording, it’s essential to remember that taking regular breaks is vital. Singing for extended periods will take a toll on your vocal cords, so pausing here is beneficial to prevent overworking them. Additionally, warming up earlier can ensure you reach the best results possible when singing into the microphone!
It’s critical to remember that the most vital part of recording and producing vocals is having a blast throughout the process. Please don’t get overwhelmed in trying for total accuracy, but rather recognize that those little quirks make music captivating and unique. With practice and perseverance, you’ll be able to craft stunning vocal recordings from home easily – sure to awe your friends and family!
Tags: recording vocals for beginners, mic techniques for recording vocals, recording tips for vocals, how to record vocals at home without a mic, vocal recording studio, tips for recording vocals at home
9 Best Vocal Microphones to Make Your Vocals Sound Amazing!
9 Best Microphones For Recording Acoustic Guitar That Sound Amazing
9 Best Condenser Mics That Will Blow Your Mind!
9 Best Budget USB Microphones That Produce Excellent Quality!
9 Best Live Vocal Microphones That Make You Stand Out!
The Ultimate Guide to the Best Vocal Mics: Condenser Edition