9 Tips Get Your New Home Recording Studio Sounding Amazing
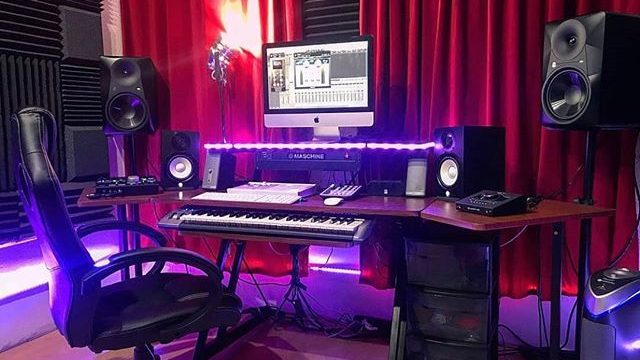
You’ve decided to build your home recording studio! Excellent! Establishing a studio in your home can be tricky whether you’re a novice or an expert. However, if you want to produce pristine recordings that sound just like those released by professionals, it’s imperative to design and build the proper setup. When you are setting up a home recording studio, you may need some outside assistance.
Some places offer home recording studio packages, but if you want to save money, do it yourself.
This beginner’s guide will explore all essential steps for creating optimal audio quality in your residence-based studio – from selecting exceptional equipment to effectively isolating acoustics inside the room. With our tips and tricks and knowledge of core principles behind high-grade capturing of sounds, you’ll soon be crafting magnificent records at no time!
- Treat Your Room Acoustics
- Invest in Great Microphones
- Use High-quality Cables
- Use A Good Set of Studio Monitors
- Use a Proper Microphone Technique
- Use a Noise Gate, EQ and Compression
- Use Reverb and Delay
- Listen and Compare
Treat Your Room Acoustics
To achieve ideal sound quality in your home studio, treating the acoustics of your room is essential – this will prevent issues such as echo, reverb, and other unwanted noises that could severely compromise audio clarity. Thankfully there are many ways to improve the acoustic treatment of your space; from acoustic foam panels to bass traps, these solutions can dramatically enhance the overall sound quality of all future recordings.
Use bass traps, diffusers, and sound-absorbing panels to optimize your room’s sound. Bass traps help to diminish low-frequency sounds from overpowering the space, while diffusers disintegrate any echoes that may remain in a reverberating area. Additionally, acoustic panels are great for decreasing audio levels and dissipating deep reflections or reverb throughout a room. With these simple solutions, you will have an improved yet balanced acoustics experience without all the noise!
If you’re looking for a budget-friendly solution to improve the acoustics of any room, acoustic foam is an excellent choice. This material can be used on walls, ceilings, or even floors to reduce echo and reverberation while improving sound quality significantly. With its cost-effective nature and multi-purpose capabilities, acoustic foam may be just what your space needs!
When treating a room for acoustic purposes, it is vital to remember that the size and shape of the environment drastically influence sound quality. For instance, rooms containing a square or rectangular layout are predisposed to creating standing waves and echoing issues compared to those with a distinctive design. Moreover, larger spaces often require more comprehensive acoustics than smaller ones due to their extensive area.
To ensure the optimal sound quality of your recordings, it is essential to identify the critical listening position first – this is typically where you will be sitting when listening on monitors. Then, prioritizing acoustics treatment in that area can help craft a superior sonic experience for any recording session.
Ultimately, it is vital to assess and modify the room’s acoustics, which entails listening to your recordings and making modifications accordingly. Also, try out different components of foam or materials to find an appropriate solution for your space!
Ultimately, setting up the acoustics of your space is necessary to create an optimal home-based recording studio. Using materials such as bass traps, diffusers, sound-absorbing panels, and acoustic foam, you can improve the audio quality significantly so that it sounds like a professional recording. Furthermore, remember that how big or small and where you place yourself when listening critically affects sound clarity and may require some trial-and-error before getting it right!
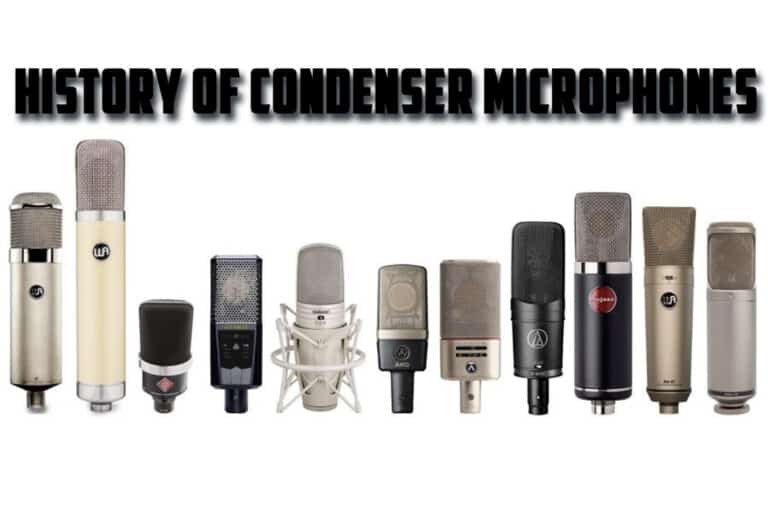
Invest in Great Microphones
A superior microphone is the cornerstone of exquisite sound quality in your home studio. In addition, excellent microphones are critical for grabbing clear vocals and instruments, ultimately defining your recordings’ excellence. To achieve the best outcome, you must purchase a great microphone!
When selecting a microphone, you should consider the type of recording that needs to be done. Condenser mics are favored for their capacity to record high-pitched elements with precision and clarity, which makes them perfect for vocalizing and acoustic instrumentation.
Dynamic microphones boast robustness and sturdiness under extreme sound pressure levels; hence they’re best used when capturing electric guitars or drums at higher volumes. Ribbon microphones also offer an incredibly smooth rendition of audio recordings – making them suitable if you plan on utilizing your mic in studio sessions! Here is a guide to the best condenser microphones for every budget.
If you need to hone in on one sound source, cardioid microphones are the optimal choice, as they can pick up audio from a single direction. Cardioid microphones are ideal for recording vocals and instruments like pianos or guitars. However, if your goal is to capture multiple sound sources simultaneously, then an omnidirectional microphone will do the trick! This mic allows you to easily record a group performance or any other instance where several voices may overlap.
Before making a microphone purchase, you should carefully consider both the cost point and necessary features. While some mics can be expensive at over $1000, there are plenty of economical solutions that provide exceptional sound quality. Aim to find an option within your budget range with all your desired capabilities, such as integrated preamps or high-pass filters.
While a good microphone is essential for optimal recording, it’s not the only factor. To ensure that your audio sounds perfect, you need to have exemplary room acoustics and preamp capabilities and access to a quality Digital Audio Workstation (DAW) and monitoring system. In addition, a great mic will help capture nuanced performances more effectively and polish up your tracks; however, these other pieces of equipment are just as important!
Investing in a top-notch microphone is the ultimate key to optimizing sound quality for your home recording studio set up. Take time to select one that fulfills your requirements and budget, and you’ll be well on track to crafting exceptional audio recordings!
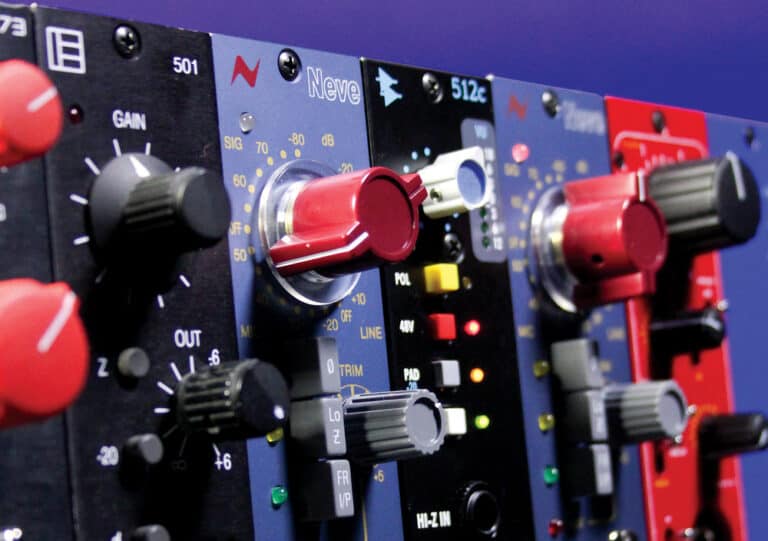
Use High-quality Cables
Utilizing high-grade cables is integral to achieving the highest-quality sound in home-based recording studios. Cables link your audio devices – like microphones, instruments, and interfaces – and your computer or mixer board. The quality of these cables can profoundly affect the tone you record, so they must not interfere with unwanted noises or distortion. This is a good place to start on your quest for high-quality cables for your home recording studio.
When selecting cables, it’s essential to take conductor material into account. For example, copper is widely used in audio applications due to its conductivity and low resistance, meaning that interference or distortion will be eliminated. Silver can also deliver exceptional results when used in cabling for audio-related purposes.
When selecting an audio cable, it is also essential to consider the shield quality. A cable’s outer layer that protects against electromagnetic and radio frequency interference creates a reliable barrier against any outside noise or distortion. Copper braid is an excellent choice for this protection, which offers outstanding shielding properties.
For sound applications, having connectors that can offer solid connections and long-term performance. XLR connectors are among the most used models for this purpose; they have three pins that enhance performance. Without reliable connector technology, cables would not be able to link audio equipment – making them an essential component in any professional audio setup.
Using high-quality cables is essential to ensure optimal sound quality in your home recording studio. Specifically, opt for cables made of top-notch conductor material with a tight braided copper shield and reliable XLR connectors. Copper is the favored conductor material for audio applications, while XLR connectors are the most popular choice among professional musicians–making them ideal for at-home production too!
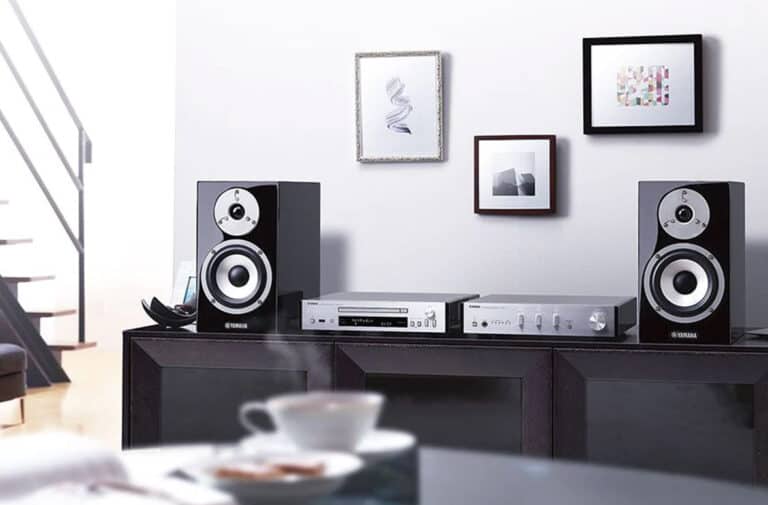
Use A Good Set of Studio Monitors
You must use a top-notch set of monitor speakers to attain the highest sound quality in your home recording studio. Named ‘studio monitors’ and ‘reference monitors,’ they are also tailored to professional audio production. They offer an even frequency response, reproducing sound accurately without any extra coloration or enhancement. This ensures that what you hear is exactly how it was recorded so discrepancies can be identified and quickly corrected for optimal results. Here’s a good list for your research.
When selecting reference monitors for your music recording space, you must consider the size of your room and the type of music you will produce. For example, if your studio is on a smaller scale, it’s sensible to invest in 5-inch or 6-inch woofer monitors; however, if you have more spacious accommodations or plan to record bass-heavy melodies, opting for 8-inch – 10-inch audio devices could prove beneficial.
It’s worth highlighting that having a reliable set of monitor speakers is only one piece of the puzzle for optimizing sound quality inside your home recording studio. Room acoustics, top-tier audio interfaces, mic preamps, and professional-grade software are all essential factors to consider.
Use a Proper Microphone Technique
Excellent sound quality in a home recording studio starts with proper microphone technique. Even the most advanced microphones will only yield desirable results if their usage is correct. I found this to be a worthy site for proper technique.
You must select the appropriate microphone for your project to get the best audio recording. Different types of microphones are better suited to other kinds of capturing. For example, a condenser mic is ideal for vocal recordings, while dynamic mics work well with drums. Before commencing any project, be sure to research and determine which type of microphone is most suitable for your specific situation; this will help ensure that you produce high-quality sound results!
After you have the right microphone, it is essential to place it precisely. The gap between your mic and sound source can drastically change the superior quality of the audio recording. As a rule, closer proximity will make your microphone more sensitive to details captured in the sound. Nevertheless, too close could lead to popping or distortion- which should be avoided at all costs! Finding an ideal location that produces top-notch sounding audio clips is vital – so take time identifying this sweet spot!
It is also critical to utilize a pop filter when using microphones. A pop filter shields the microphone diaphragm from air, preventing excess popping and other unwanted sounds. This device can increase sound quality significantly by reducing noise interference during recording sessions.
It is essential to consider the acoustics of your recording environment. The room where you capture sound will greatly affect its quality, so record in an area with good acoustic properties. If this isn’t achievable, then utilizing sound-absorbing elements can drastically reduce reverberation and echo for improved audio clarity.
Proper microphone technique is essential to produce excellent audio quality when recording in your home studio. It’s crucial to select the right mic, position it appropriately, integrate a pop filter, and assess room acoustics. You can maximize sound performance by attentively following these steps and experimenting with various techniques.
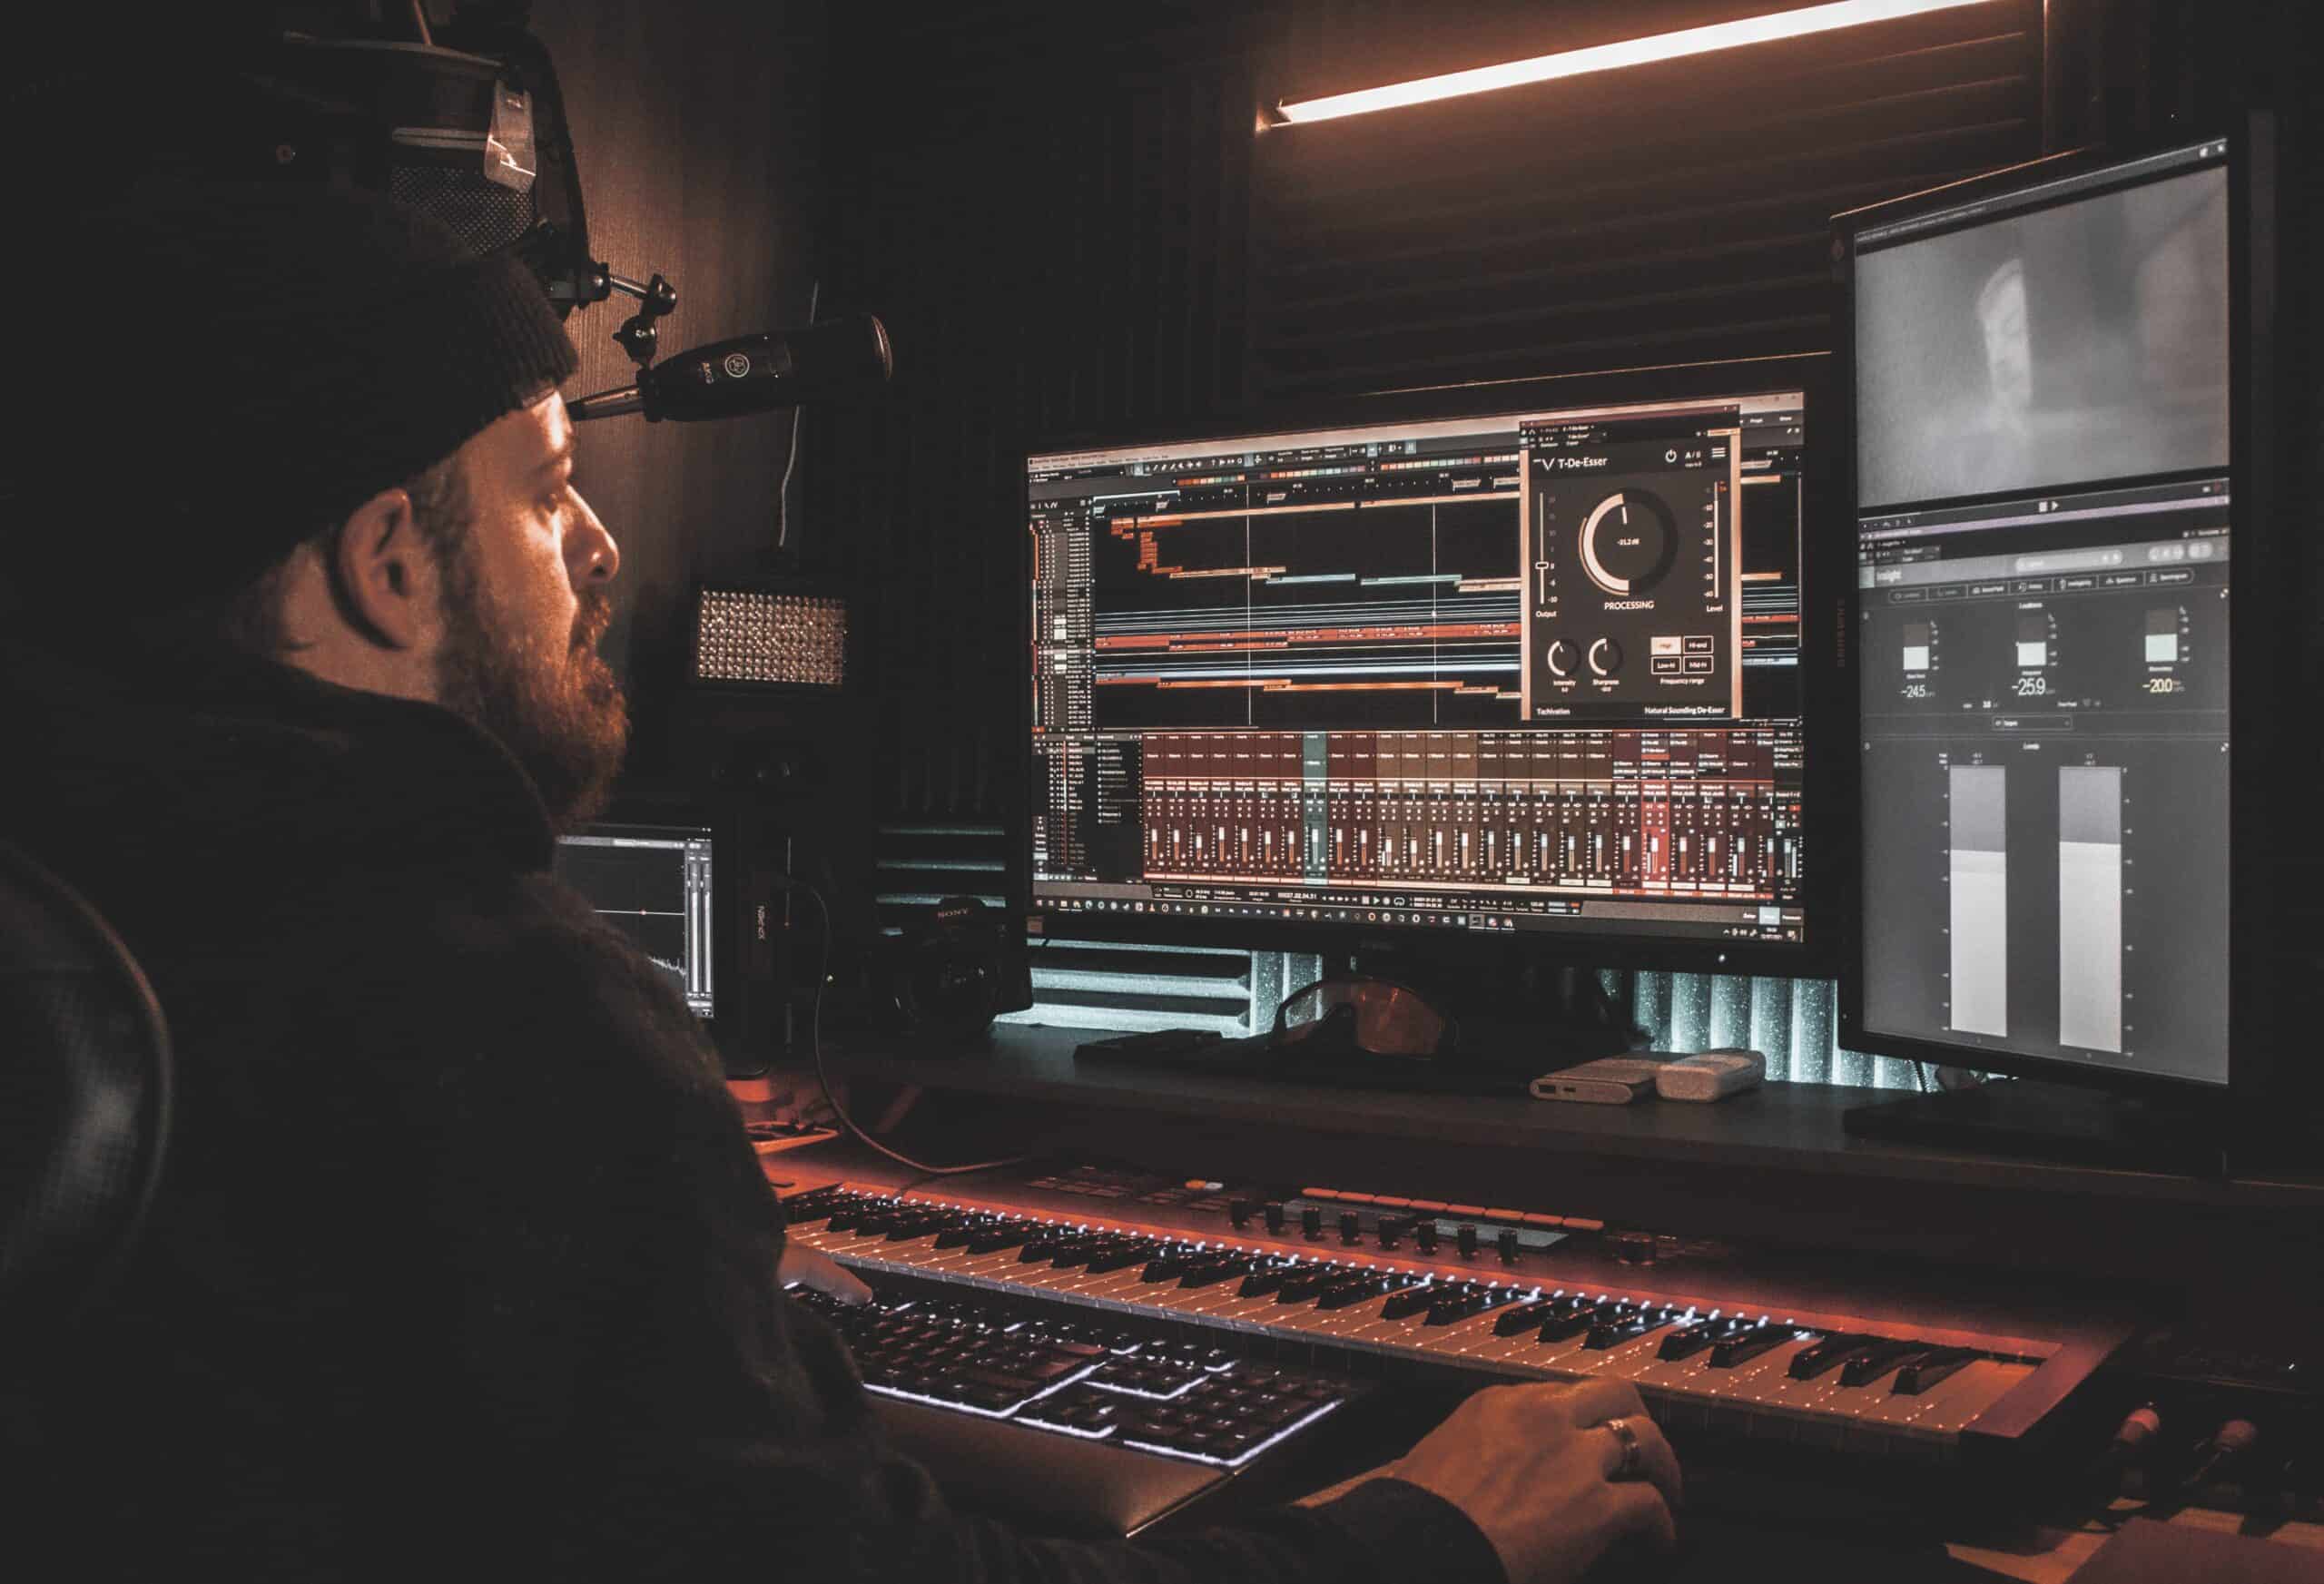
Moreover, to deliver only the highest quality recordings to your listeners, it’s integral to use professional-grade audio interfaces, microphone preamps, and recording software. This combination of sound tools will help you enhance your music productions’ sonic excellence.
Use a Noise Gate, EQ and Compression
Using a noise gate is essential to maximizing sound quality in your home recording studio. A noise gate is a device that mutes or reduces the background noise or unwanted sounds in a recording. It works by detecting the sound level, and the noise gate will reduce or eliminate the noise when it falls below a certain threshold.
Noise gates can be used as plugins in digital audio workstations or as standalone units. This is particularly useful for recordings with much background noise, such as recordings made in a room with poor acoustics or recordings of instruments with a lot of bleeds. It’s essential to adjust the settings and the threshold to balance eliminating noise and to preserve the desired sound.
What is the difference between EQ and compression?
EQ and compression are crucial tools for achieving optimal sound quality in the recording studio. Equalization allows you to fine-tune various frequencies within a track, while compression regulates its dynamic range. Combined, they provide an invaluable asset – allowing your recordings to have that polished and professional touch!
EQ is an effective tool for enhancing the quality of audio recordings. For instance, if a vocal recording sounds muddled and unclear, you can use EQ to reduce some low-frequency components, making it sound more precise. Similarly, using EQ to increase high frequencies in guitar recordings can give them a brighter tone. However, be sure to use this technique sparingly, as too much boosting or cutting on any particular frequency range could lead to an unnatural-sounding end product.
Compression is a vital tool for controlling the dynamic range of any recording. However, the difference between the loudest and softest parts can be vast, making it difficult to pick up all the details in one listen. Compressors are used to reduce this gap, amplifying low-level sounds while reducing louder passages so that everything blends more harmoniously. It’s essential to keep your recordings manageable, though, as doing so will make them sound dull and devoid of life – use sparingly!
Ultimately, EQ and compression are indispensable elements for honing the sound of a recording and optimizing audio quality inside your at-home studio. You can craft unparalleled sonic landscapes by carefully adjusting frequencies with EQ and controlling dynamic range with compression. Yet beware: too much of either may create an unnatural effect that could diminish the quality of your work!
To ensure you’re getting the best recording, listen to it and make any necessary adjustments. Utilize high-quality compression plugins or hardware when EQing and monitor speakers and a noise gate for optimal results. Remember, good microphone technique too! With this toolkit of resources, you can trust that your recordings will be top quality.
Use Reverb and Delay
Here you can read more about reverb and delay fro soundonsound.com
Reverb and delay are essential in any home studio to create a three-dimensional soundscape. Reverb adds ambiance, while delay offers depth and dynamism. Combined, they can be used for an even more immersive listening experience – one that will add life to your recordings!
Reverb is a simulation of the sound reflections you hear in an acoustic space. Using it, you can create an atmosphere and ambiance to your recordings: add a pinch of reverb to give vocals the feeling they were recorded inside a concert hall, or if more is desired, dial it up until it feels as though they were sung within a cave! Reverb can also give a blend more depth and distance, making the distinctive components of the mix sound like they are in distinct locations. However, administer reverb with caution since an excessive amount may make your recording muddled and unclear.
Delay is an effective tool for adding depth, movement, and space to a sound recording. For example, adding a short delay on a vocal track can make it appear as if the voice was captured in an expansive room, while longer delays will create an impression of being recorded from within a long tunnel, giving listeners that sense of motion throughout the mix. However, great care should be taken when utilizing Delay – too much of this effect can lead to disorienting cacophony!
Here is an article about reverb vs delay and when to use each
In essence, reverb and delay are indispensable resources for your home studio recordings. Expressly, they grant the recording a greater sense of depth and atmosphere, whereas over-usage can significantly lessen clarity or acuity. Reverb evokes an ambient effect while echo activates movement within the composition – both should be applied judiciously for maximum impact! It is essential to play back each recording and make any necessary alterations. Implementing top-notch reverb and delay plugins or hardware will further enhance the quality of your audio. Additionally, good monitor speakers, proper microphone technique, noise gate & EQ settings, and compression are surefire methods of boosting overall sound clarity.
Listen and Compare
To make sure that your home studio sounds its best, take the time to compare and listen critically. Evaluate your recordings against other albums you consider of superior quality to pinpoint any areas where your production may lack in comparison. Doing so will help you refine sound elements, allowing maximum audio excellence.
It would help to consider the overall sonic balance as you listen to your recordings. Ask yourself questions such as: Is there too much bass? Is the treble too harsh? Are the vocals loud enough, or do drums overpower them? Do all elements harmonize well, or do they clash unpleasantly? These inquiries will help ensure a balanced sound for your recording.
To ensure optimal sound quality, listen for clarity in the recording. If it appears hazy or unintelligible, if you struggle to understand what is being sung, or if multiple components of the mix seem to be clashing with one another, chances are that something can be done to improve its acoustics.
Beyond listening to your audio, you should also pay close attention to other recordings and compare them with yours. This practice gives you a better understanding of how top-notch soundtracks should be and will help you identify where there is still room for improvement in how your tracks are produced.
If you want to ensure your recordings are of the highest quality, reference tracks can be invaluable. Professionally produced audio files allow you to compare your work and a benchmark to evaluate sonic aspects like clarity and overall balance. By listening side by side with references, you have a better chance of ensuring that your recording meets the standards of excellence required for any professional project.
Listening and comparing are essential to optimize the sound quality of your home studio. Carefully listen to your recordings and make precise adjustments if necessary. Then, compare it to other recordings or use reference tracks for benchmarking purposes to get an idea about its overall balance, clarity, etc., which are all integral parts of good audio quality. In conclusion, evaluating your audio will help you create great music that no one would ignore!
Tags: home recording studio setup, home recording made easy, home recording studios
5 Excellent Essentials and How to Make Music at Home
5 More Excellent Essentials and How to Make Music at Home
9 Best Vocal Condenser Mics that Will Blow Your Mind
9 Best Studio Headphones: Amazing Music to Your Ears
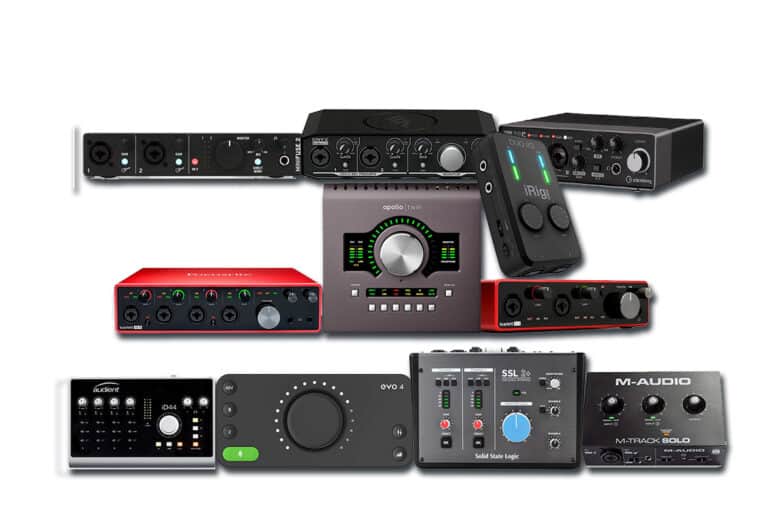
9 Best Budget Audio Interfaces For Excellent Recording Results!
9 Best DAW for Beginners and the Music Professional!